| How to make assembling flat pack easier, quicker and (almost) pain free! |
Building flat pack furniture needent be the difficult task many of us expect it to be. With some simple planning and our handy hints you'll be rivalling the professionals in no time.
PREPARATION
Check the parts – open your furniture as soon as you receive it, check the parts are all there and are undamaged. There’s no point trying to start assembly if you cannot finish it. Contact manufacturers / retailers if you need any parts replacing.
Give yourself time – assembling furniture shouldn’t be rushed, make sure you have a suitable gap in your schedule before getting started.
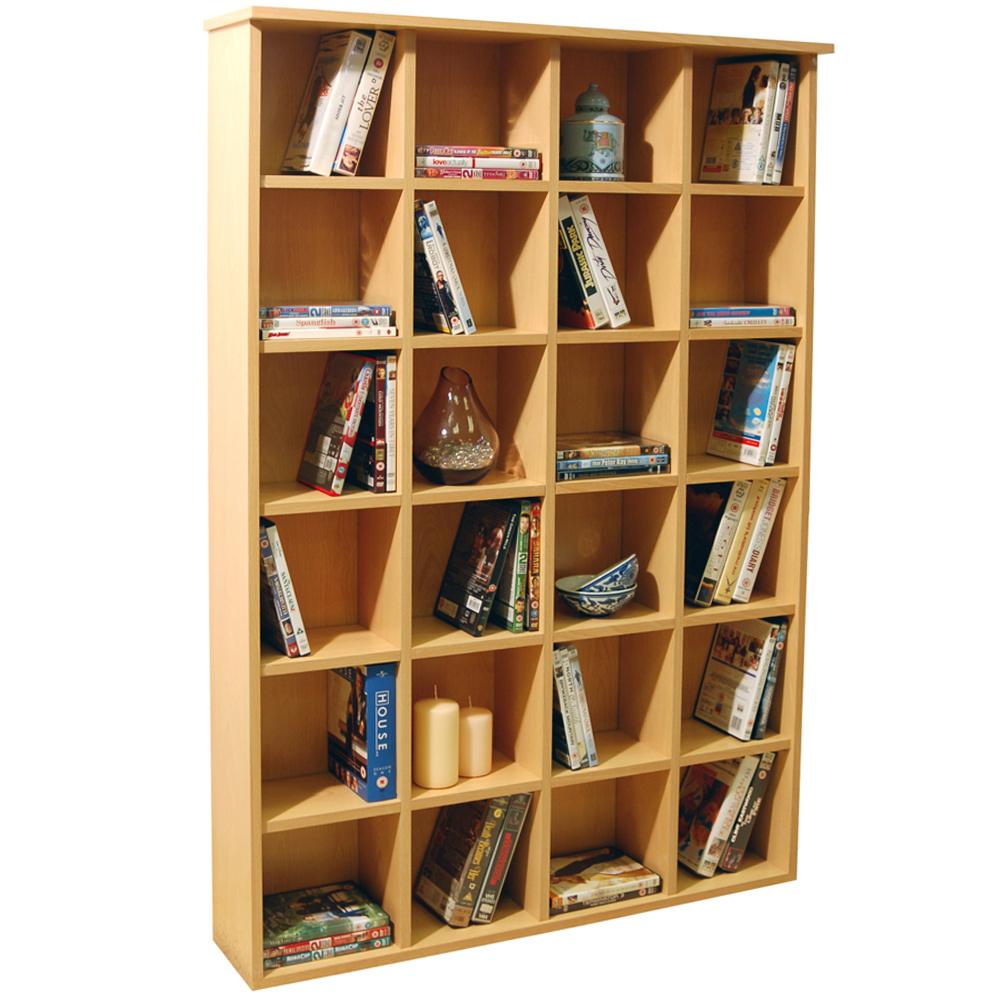
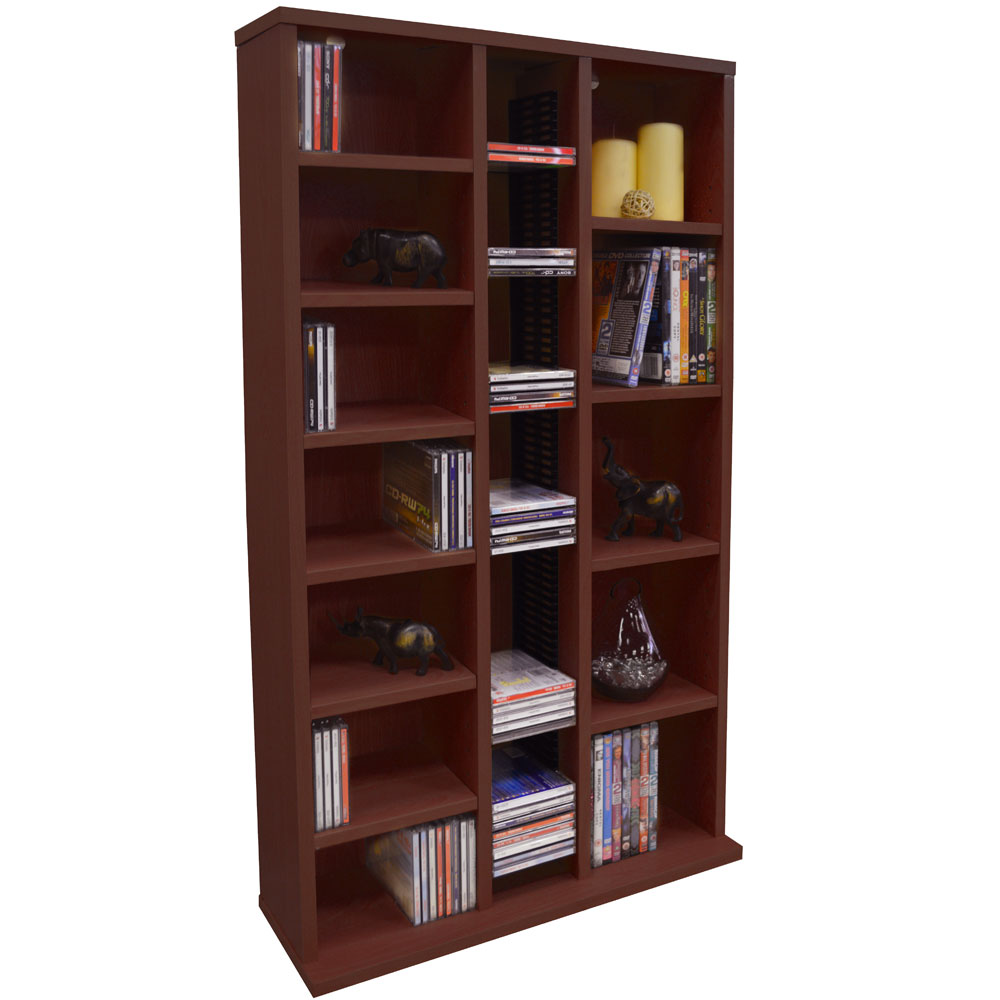
Give yourself space – if you have bought a tall bookcase it will probably need to be assembled on its front or back so make sure you have enough room for the product and for you to move around all sides of it.
Protect your purchase - Make sure the floor on which you are assembling your furniture is carpeted or protected with thick material, towelling etc. – this protects both the floor and your new product. TIP: SMALLER ITEMS CAN BE ASSEMBLED ON A TABLE OR COUNTER TOP - JUST MAKE SURE YOU PROTECT THE SURFACE WITH THICK FABRIC OR TOWELS TO PREVENT SCRATCHING.
Lay it all out – best practice would be to identify and then line up all parts in alpha numerical order which makes everything easier when assembling. If you cannot do this due to space restrictions simply group items that are the same together.
Have a drink / snack handy – just in case it turns into a long job make sure you can access some fuel as your brain works better when hydrated and fed.
GETTING TO IT
Instructions – read them first before attaching any parts. Sometimes knowing the next step can make the current step easier to understand.
Follow carefully – some instructions are pictorial only, which is fine, BUT if there are written instructions too then make sure you follow them, there could be extra advice like which way round to place a part which is not fully clear from the images alone.
If you are not sure, ask – most instructions will have a contact email or telephone number where you can ask advice on the assembly, or ask on online forums if you need “out of hours” help quickly but be careful following advice that may invalidate your warranty.
HANDY HINTS
Tools / Parts
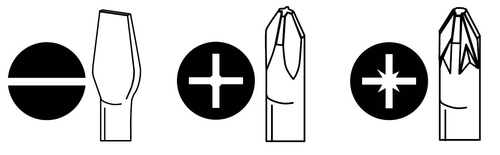
Screwdrivers – make sure you use the correct screwdriver for the screw you are inserting. There are 3 types: Flat head, crosshead (Phillips) and pozidrive. It is easy to use a crosshead (Phillips) or pozidrive in place of each other by mistake. The crosshead (Phillips) has angled sides, a pointed tip and rounded edges. The pozidrive has a blunt point and square edges.
Camlock nuts – these tricky little metal or plastic round locking nuts are usually rotated to connect to a bolt to give a strong joint – TIP: most are better tightened using a flat head screwdriver as this gives more control than a crosshead (Phillips) or pozidrive.

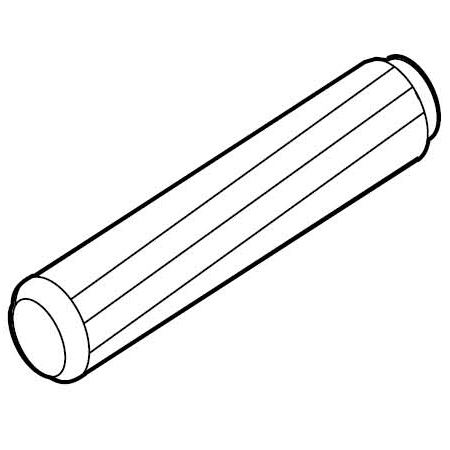
Dowels – dowels are best inserted in the edge of a board first as they can be tapped in easier AND sometimes if added to a flat board first the dowels can split the surface if pushed too far. They are best gently tapped into place using a rubber mallet or similar device.
Glue – glue ideally needs 24 hours to cure before totally hardened. Leave any furniture with glued joints for this time before using otherwise they may twist, bend or flex out of shape. If your glue seems too thick then place the container in warm water until it is more pliable, you can also thin down thick glue with white vinegar, acetone or paint thinner following any safety instructions - excess glue can also be removed carefully using these methods.
Assembling
Think outside the box:
EXAMPLE: on a chest of drawers don’t think that because the instructions show you how to make the frame first and drawers second that you HAVE to do it that way. Sometimes you can get a better sense of accomplishment by making drawers first and therefore using up a lot of parts in the process.
EXAMPLE: just because the instructions say you need to keep the item upright to add a back board you may find it easier to lay the item on its front as it’s easier to square up when flat on the floor.
EXAMPLE: if the instructions say “add the handle” BEFORE other hardware on the reverse side of a door or drawer you may find it much easier to add the handle AFTER as the door / drawer front will be able to lie flat for the more difficult hardware attachment.
EXAMPLE: if cam lock nuts etc are visible from underneath a shelf / top / base of a unit and you will see them you MAY be able to reverse the shelf / top / base so the fixings are visible from the top instead.
EXAMPLE: you can customise furniture by painting parts including, and specifically, backboards before starting assembly.
FOR OUR WALL MOUNTING GUIDE PLEASE CLICK HERE
BACK TO TOP BACK TO HOW TO ARTICLES